Ever spent 20 minutes lining your brows—only to smudge it with a shaky hand? You’re not alone. Most makeup stencils promise salon-perfect symmetry, but without the right tool, they deliver amateur hour. Enter precision applicators. They bridge the gap between intention and execution—and most tutorials won’t tell you that.
Why Freehand and Standard Brushes Fail with Makeup Stencils
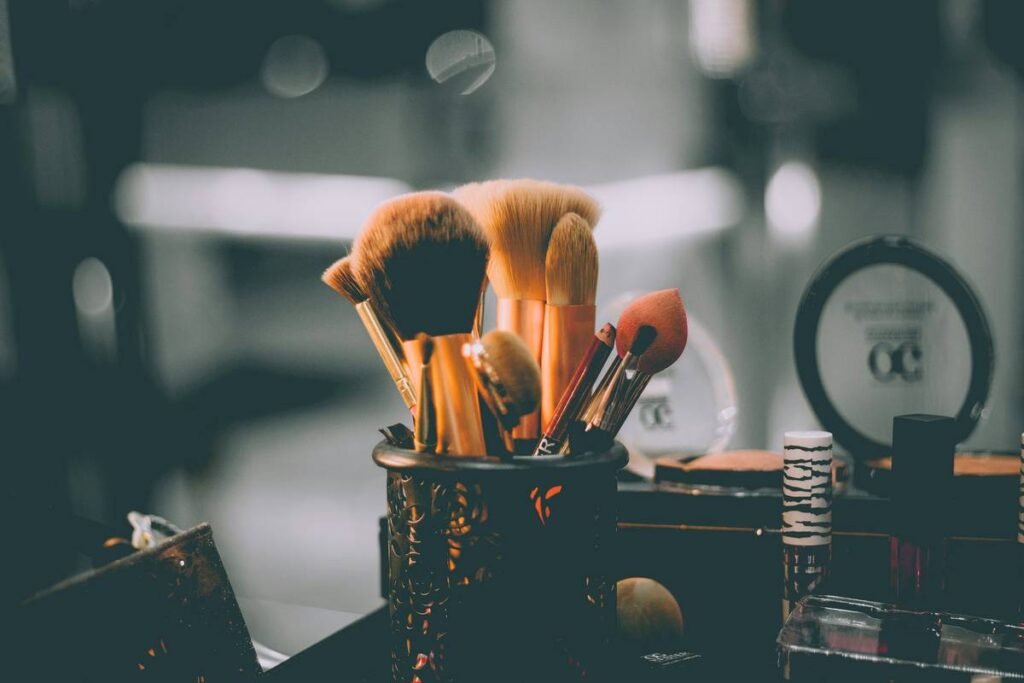
Brushes bleed. Fingers smear. Sponges absorb too much product. The core issue isn’t your stencil—it’s your delivery system. Stencils demand controlled, localized pigment placement. A fluffy angled brush might seem ideal, but its bristles splay under pressure, feathering color beyond the cutout edge.
And that “dab-and-go” technique influencers swear by? It works only if your skin is bone-dry and your formula is matte powder. Real-world conditions—humidity, oily T-zones, creamy concealers—demand more surgical precision.
How to Use Precision Applicators with Makeup Stencils: A Step-by-Step Breakdown
Select the Right Tip Geometry
Not all precision applicators are created equal. Slanted silicone tips excel for sharp brow lines. Micro-spatula ends work wonders for cut-crease eyeshadow stencils. Round dome tips? Perfect for stippling highlighter through cheekbone guides.
Product Consistency Matters More Than You Think
Thick creams clog narrow tips. Watery liquids pool and drip. The sweet spot? Mousse-to-powder formulas or highly pigmented pressed creams. If you must use liquid, tap off excess on a tissue first—no one talks about this, but pros do it silently.
Pressure Control Is Non-Negotiable
Press too hard, and the stencil lifts. Too light, and coverage disappears. Practice on your hand first. Use just enough pressure to feel slight resistance—like signing a check with a fine-tip pen.
| Tool Type | Precision Level | Best For | Avg. Cost (USD) |
|---|---|---|---|
| Angled Synthetic Brush | Medium | Powder brows, loose pigment | $8–$15 |
| Silicone-Tip Precision Applicator | High | Cream/gel formulas, tight stencils | $12–$22 |
| Finger + Sponge Combo | Low | Blending large areas (not stenciling!) | $0–$5 | Magnetic Interchangeable Applicator System | Very High | Professional artists, multi-step routines | $25–$45 |
The Industry Secret: Stencil Adhesion > Tool Sharpness
Here’s what no brand admits: even the sharpest precision applicators fail if the stencil isn’t flush against the skin. Pros lightly mist stencils with setting spray before pressing them down—this creates temporary tackiness without residue. Another trick? Warm the stencil between palms for 10 seconds. The subtle heat activates skin oils just enough to hold the template in place. It’s physics—not magic.
And don’t wash stencils with soap. Oil-based cleansers leave microscopic films that repel product. Rinse with micellar water instead. Your edges will thank you.
Frequently Asked Questions
Can I reuse makeup stencils with precision applicators?
Yes—if cleaned properly. Rinse immediately after use with micellar water, air-dry flat, and store in a dry sleeve. Avoid bending; creases ruin alignment.
Are silicone-tipped applicators better than brushes for stenciling?
For cream or gel formulas, absolutely. Silicone doesn’t absorb product, delivers cleaner lines, and won’t fray like bristles. Brushes still win for loose powders though.
Do precision applicators work on textured or acne-prone skin?
They actually excel here. Their firm tips glide over bumps without snagging—unlike sponges or fingers that catch on uneven surfaces and drag pigment into pores.