Struggling to create sharp wings, symmetrical brows, or intricate face art? You’re not alone. Most makeup artists—even seasoned ones—waste hours correcting smudges, uneven lines, and shaky hand errors. The frustration mounts when inspiration strikes but execution fails. Enter stencils: the unsung heroes of artistic makeup techniques that deliver studio-quality results in seconds.
Why Freehand Fails for Complex Artistic Makeup Techniques
Freehand application looks effortless on Instagram—but it’s rarely real life. Human hands tremble. Lighting shifts. Products behave unpredictably on oily skin. And symmetry? Nearly impossible without reference.
And here’s the brutal truth: even professional MUAs rely on guides off-camera. Why? Because time is money—and perfection shouldn’t hinge on a steady hand after three espressos.
Your Step-by-Step Guide to Flawless Stencil Application
Selecting the Right Stencil Material
Vinyl stencils last longer but can be rigid. Mylar offers flexibility for curved facial zones. Avoid paper—they warp with setting spray and tear during cleanup.
Prepping Skin Like a Pro
Cleanse, tone, moisturize—but skip heavy creams near stencil areas. Oil = migration. A mattifying primer creates the ideal non-slip canvas.
Product Pairing Matters
Use cream-based paints with flexible stencils; powders work best with rigid acrylic templates. Liquid liners? Only with laser-cut precision stencils—anything else bleeds.
| Stencil Type | Best For | Average Cost | Reusability |
|---|---|---|---|
| Silicone | Contouring, blush placement | $8–$15 | 50+ uses |
| Laser-Cut Mylar | Eyeliner wings, graphic liner | $12–$22 | 100+ uses |
| Adhesive Vinyl | Temporary tattoos, glitter designs | $5–$10 | Single use |
| 3D Face Molds | Avant-garde editorial looks | $30–$60 | 20+ uses |
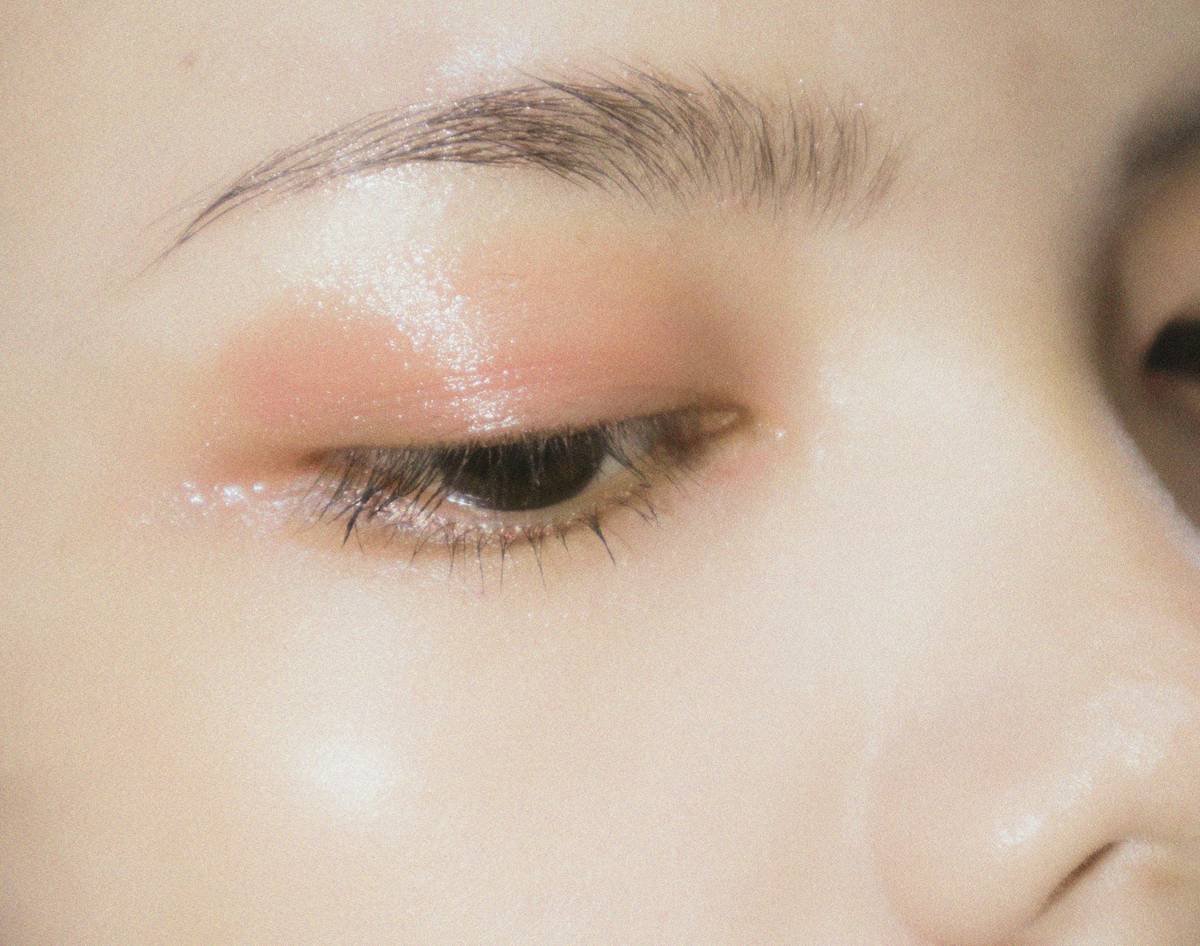
The Industry Secret: Stencils Aren’t Cheating—They’re Strategy
Top editorial MUAs don’t hide their stencils—they weaponize them. One backstage artist confessed she cuts custom stencils from acetate sheets mid-show using nail scissors and a printed template. Why? Consistency across 20 models under 90-minute deadlines. Here’s the reality: creativity thrives within constraints. A stencil isn’t a crutch—it’s a launchpad. It frees mental bandwidth so you can focus on color theory, texture layering, and unexpected placements. Think about it: Michelangelo used grids to scale sketches onto ceilings. Tools don’t diminish artistry—they amplify it.
Frequently Asked Questions
Can beginners really use stencils for artistic makeup techniques?
Absolutely. Stencils reduce the learning curve dramatically. Start with basic winged liner templates—within days, you’ll understand angles and negative space intuitively.
Do stencils work on hooded or deep-set eyes?
Yes—but choose flexible mylar over rigid plastic. Press gently along the lid’s natural contour. Pro tip: lift the stencil slightly at the inner corner to avoid creasing.
How do I clean reusable stencils without damaging them?
Rinse immediately with lukewarm water. For stubborn pigment, use micellar water and a soft brush. Never scrub with alcohol—it degrades the edges over time.