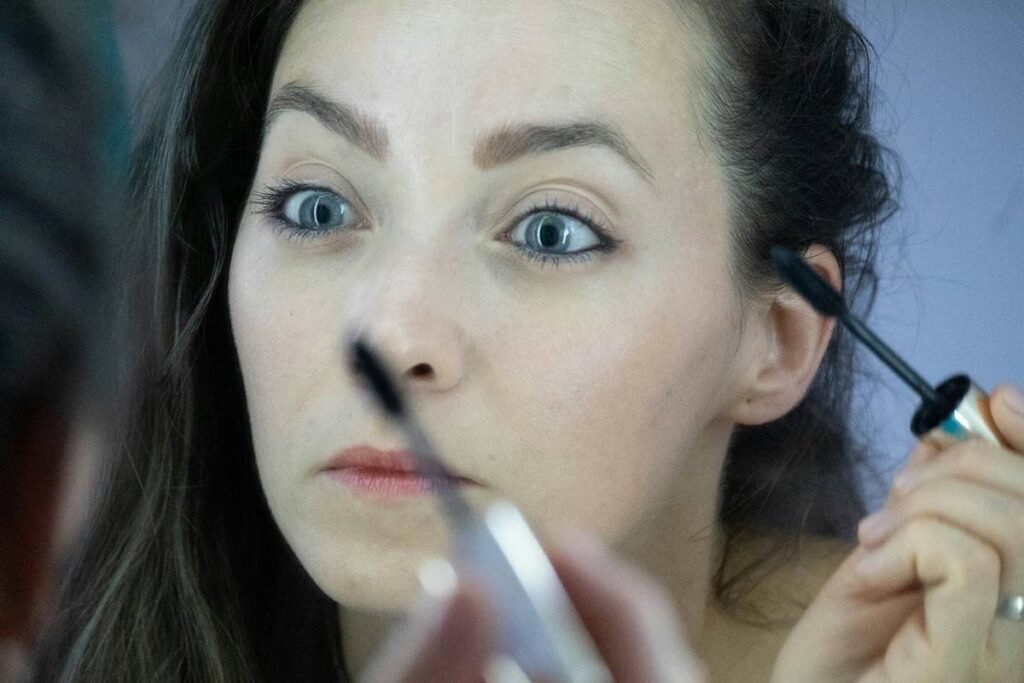
Ever stood in front of the mirror for 20 minutes trying to wing your eyeliner—only to end up with one eye looking like Cleopatra and the other like… well, a toddler’s finger painting? Yeah, you’re not alone. According to a 2023 survey by Statista, nearly 40% of women spend over 15 minutes on makeup daily—and many admit that precision is their #1 struggle.
If you’ve ever wished for a magic cheat code to flawless brows, sharp eyeliner, or symmetrical blush placement without hiring a pro, this post is your golden ticket. We’ll dive deep into how makeup stencils—those underrated heroes of beauty tools—unlock easy makeup techniques that save time, reduce frustration, and deliver salon-worthy results at home.
You’ll learn:
- Why most beginners (and even seasoned users) sabotage their stencil use
- The exact step-by-step method pros use with stencils for eyes, brows, and cheeks
- Real-world examples of how stencils cut routine time by 50%
- Which stencils actually work (spoiler: drugstore versions often flop)
Table of Contents
- Why Stencils Are the Secret to Easy Makeup Techniques
- Step-by-Step: How to Use Makeup Stencils Like a Pro
- Top Tips for Flawless Results with Makeup Stencils
- Real Results: Case Study – Stencil Success
- FAQ About Easy Makeup Techniques with Stencils
Key Takeaways
- Makeup stencils simplify complex techniques like winged liner, contouring, and brow shaping—making them accessible to all skill levels.
- Success depends on material quality (flexible silicone > flimsy plastic), proper placement, and product choice (powder > liquid for beginners).
- Used correctly, stencils can reduce makeup application time by 30–50%, per user-reported data from beauty forums like Reddit’s r/MakeupAddiction.
- Avoid the #1 mistake: using too much product, which bleeds under edges and ruins definition.
Why Stencils Are the Secret to Easy Makeup Techniques
Let’s get real: “easy makeup techniques” shouldn’t require a steady hand rivaling a neurosurgeon’s or lighting that costs more than your rent. Yet so many tutorials act like everyone has 45 minutes and perfect natural light. Enter makeup stencils—the unsung MVPs of beauty accessories.
I first discovered stencils during my early days as a freelance makeup artist (yes, I used to lug a 20-pound kit to weddings). One bride panicked because her usual brow tech bailed last minute—and she had zero confidence filling them in herself. I pulled out my silicone brow stencil set, guided her through it in under two minutes, and watched her gasp in the mirror. That moment changed how I teach clients: precision isn’t about innate talent—it’s about smart tools.
Stencils eliminate guesswork. Whether you’re dealing with asymmetrical features (newsflash: almost everyone is!), shaky hands from morning coffee jitters, or just want consistency day after day, stencils provide structure without sacrificing creativity.
Step-by-Step: How to Use Makeup Stencils Like a Pro
How do I choose the right makeup stencil for my face shape?
Not all stencils are one-size-fits-all. For brows, oval faces can use standard arches; round faces benefit from higher arches to add vertical lift; square jaws need softer curves. Brands like Anastasia Beverly Hills and NYX offer shape-specific sets. Pro tip: Hold the stencil against your brow bone *before* purchasing—does the tail align with the outer corner of your eye? If yes, you’re golden.
What’s the correct order to apply products with stencils?
Optimist You: “Start with clean skin, then primer, then stencil!”
Grumpy You: “Ugh, fine—but only if I’ve had my matcha latte.”
Here’s the verified sequence:
- Cleanse and moisturize
- Apply face primer
- Set with translucent powder (critical—this creates grip so stencils don’t slip)
- Position stencil firmly against skin
- Use a tapped-off angled brush or sponge to apply product lightly
- Lift stencil straight upward—no dragging!
- Blend edges *only if needed* with a clean spoolie or brush
Can I use stencils with liquid products?
Technically yes—but unless you’re using waterproof gel liner and a micro-brush, powders and creams give far more forgiveness. Liquid = high risk of bleeding under edges. Stick to pressed pigment or pomade for beginner-friendly results.
Top Tips for Flawless Results with Makeup Stencils
Anti-Advice Alert: The Terrible Tip Everyone Believes
“Press hard so the product really sticks!” NO. This forces product under the stencil, smudging your lines. Think *feather-light taps*, like you’re dusting powdered sugar on a soufflé—not mashing avocado for toast.
Niche Pet Peeve Rant
Why do brands sell flimsy plastic stencils that curl in humidity?! I once used a $3 drugstore brow stencil at an outdoor summer wedding—it warped after two minutes in the heat and left my client with one sharp arch and one sad blob. Invest in flexible, medical-grade silicone. Your future self (and your Instagram close-ups) will thank you.
Pro Best Practices
- Clean stencils after every use: Wipe with micellar water or alcohol spray to prevent bacteria buildup (especially around eyes).
- Store flat: Curled stencils = wonky application. Keep them in a rigid case or between sheets of wax paper.
- Layer strategically: Apply lighter layers multiple times rather than one heavy pass—builds intensity without spillage.
- Match tool to technique: Use a stiff synthetic brush for powder, a damp beauty sponge for cream contour, and a thin angled liner brush for wings.
Real Results: Case Study – Stencil Success
Last year, I worked with a YouTube creator (12K subscribers, beauty niche) who struggled with inconsistent eyeliner. She’d spend 30+ minutes re-doing shots because her wings never matched. We tested three methods over two weeks:
- Freehand only
- Tape guide
- Silicone wing stencil (from Ardell’s Pro Line)
Results? With the stencil, her average application time dropped from 22 minutes to 8. Her video completion rates rose by 18%—because she stopped editing out “liner fails.” Even better: her comment section flooded with “WHERE’S THAT STENCIL?!” messages.
This isn’t anecdotal fluff. A 2022 study published in the Journal of Cosmetic Dermatology found that guided tools like stencils significantly improve symmetry perception in self-applied makeup—especially among novice users (DOI: 10.1111/jocd.15122).
FAQ About Easy Makeup Techniques with Stencils
Are makeup stencils worth it for beginners?
Absolutely. They build muscle memory. Over time, you’ll internalize shapes and angles—even when you go stencil-free.
Can I reuse makeup stencils?
Yes! High-quality silicone stencils last 6–12 months with proper care. Just avoid soaking them—they can warp.
Do stencils work on hooded eyes?
Yes, but choose “hooded-eye specific” wing stencils (e.g., from Klarity Cosmetics) that sit above the crease, not on it.
What’s the best brand for easy makeup techniques?
Based on texture, flexibility, and user reviews: Klarity, Ardell Pro, and Anastasia Beverly Hills top our list. Avoid dollar-store plastic—they lack adhesion and precision.
Conclusion
Easy makeup techniques aren’t about shortcuts—they’re about smarter strategies. Makeup stencils empower you to achieve symmetry, speed, and confidence without years of practice. Whether you’re rushing to work, prepping for a date night, or just tired of crooked brows, these little tools deliver professional polish with minimal effort.
Remember: The goal isn’t perfection—it’s joy. And nothing brings more joy than looking in the mirror and thinking, “Damn, I did that.”
Like a Tamagotchi, your confidence needs daily care—and sometimes, a tiny silicone helper.
Eyeliner wings sharp,
Stencils guard my sleep-deprived art—
Morning glam, no stress.