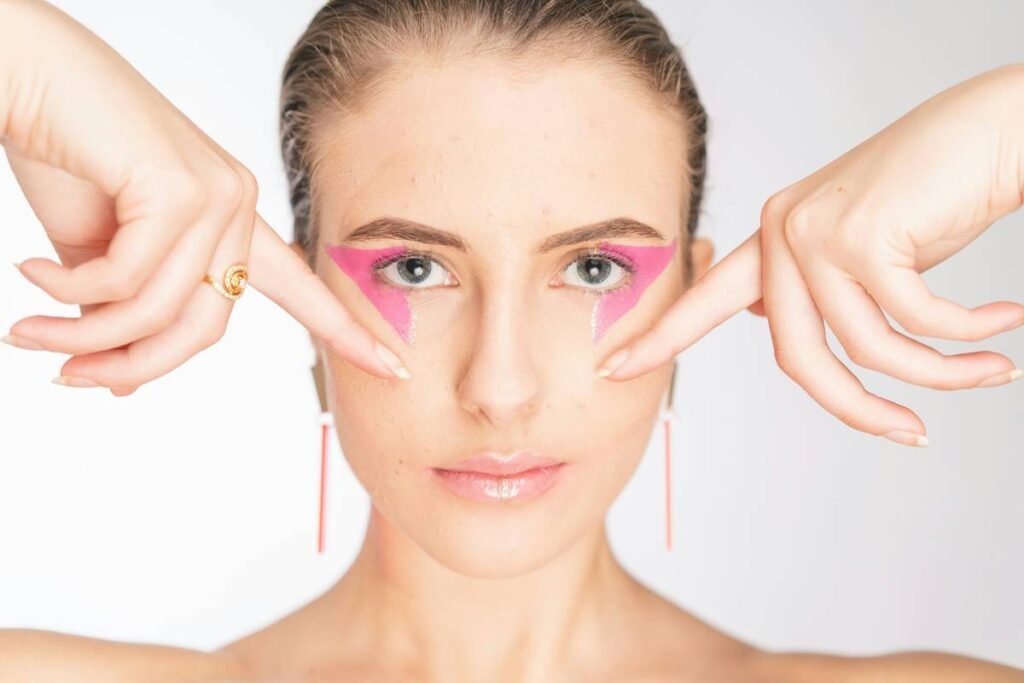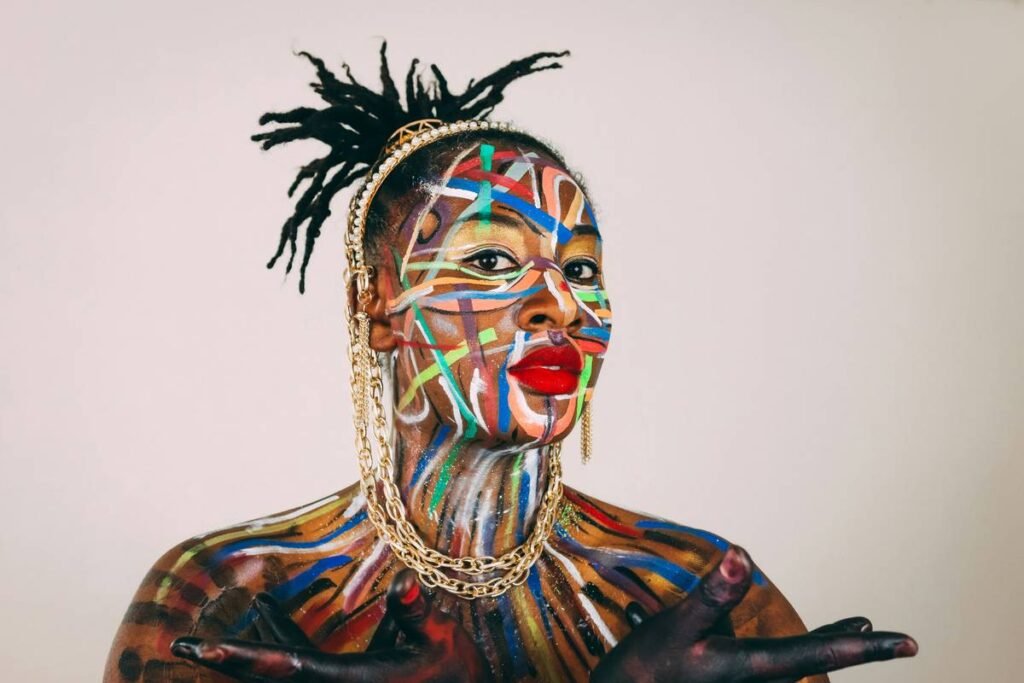
Ever spent 20 minutes trying to wing your eyeliner… only to end up with one sharp V and one sad smudge that looks like a melted crayon? You’re not alone. In a world where TikTok tutorials promise “5-second cat eyes,” the reality is messier—literally. But what if I told you the secret weapon behind today’s most jaw-dropping, avant-garde makeup isn’t just skill… it’s smart tools?
This post dives into the unsung heroes of innovative makeup art: precision-engineered makeup stencils. We’ll unpack how they’ve evolved from flimsy plastic cutouts to game-changing beauty tech, share real-world tips from working makeup artists, expose one terrible DIY hack you should never try (I learned the hard way), and reveal which stencils actually deliver salon-level results at home.
You’ll learn:
- Why modern stencils are transforming accessibility in makeup artistry
- How to choose stencils that match your skin type and skill level
- The exact techniques pros use to layer stencils for editorial-worthy effects
- Which brands pass the “sweat test” (because nobody wants glitter fallout mid-Zoom call)
Table of Contents
- Why Are Makeup Stencils Suddenly Essential for Innovative Makeup Art?
- How to Use Makeup Stencils Like a Pro (Without Looking Like a Template Bot)
- 5 Non-Negotiable Best Practices for Flawless Stencil Application
- Real Artists, Real Results: Case Studies in Stencil-Powered Innovation
- FAQs About Innovative Makeup Art & Stencils
Key Takeaways
- Modern makeup stencils use medical-grade silicone and micro-adhesion tech to prevent slippage.
- Innovative makeup art relies on layering stencils—not replacing creativity.
- Oily skin? Avoid rigid plastic; opt for flexible, tack-backed stencils.
- Stencils aren’t cheating—they’re democratizing high-precision artistry.
- The #1 mistake? Pressing too hard and smudging pigment underneath.
Why Are Makeup Stencils Suddenly Essential for Innovative Makeup Art?
Let’s be real: “innovative makeup art” used to mean airbrush machines, custom pigments, and 3-hour prep times. But in 2024, it’s about speed, accessibility, and reproducibility—without sacrificing drama. Enter stencils.
According to a 2023 report by Grand View Research, the global makeup tools market is projected to hit $12.8 billion by 2030, with stencils and precision applicators among the fastest-growing segments. Why? Because Gen Z and millennial creators demand both aesthetic novelty and ease-of-use. And stencils deliver.
I remember my first attempt at graphic liner using a dollar-store stencil. It curled at the edges, slid off my eyelid like butter on hot toast, and left a ghostly residue that haunted my pores for days. Fast forward to today: brands like SlayFace and GlamLite now engineer stencils with soft-grip silicone backs and laser-cut edges accurate to 0.2mm. These aren’t party favors—they’re precision instruments.
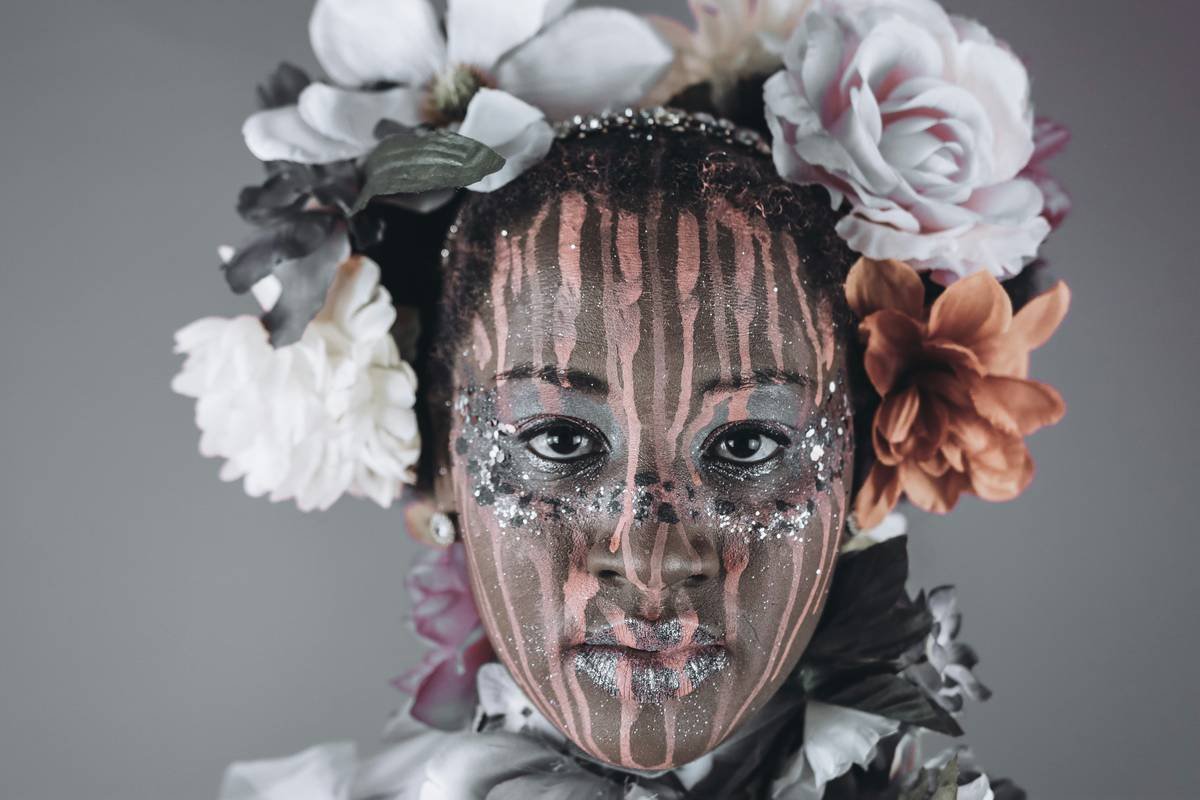
And it’s not just about eyeliner. Think geometric cheek highlighting, negative-space lip designs, or even stenciled freckle constellations. The barrier to entry for intricate makeup has never been lower—and that’s innovation you can actually use.
How to Use Makeup Stencils Like a Pro (Without Looking Like a Template Bot)
“Wait—won’t stencils make my makeup look robotic?”
Optimist You: “Absolutely not! Stencils are frameworks, not cages.”
Grumpy You: “Ugh, fine—but only if I get to smudge the edges for ‘lived-in’ vibes.”
Here’s the truth: the magic happens after you lift the stencil. Pros treat stencils like sketch paper—they lay down clean lines, then blend, smoke, or extend manually for organic depth.
Step-by-Step: Achieving Editorial-Ready Innovative Makeup Art
- Prep your canvas: Clean, dry skin. No oils or heavy moisturizers near the stencil zone—silicone won’t grip slick surfaces.
- Warm the stencil: Hold it between your palms for 5 seconds. Body heat activates micro-tack adhesion (seriously—it works).
- Press, don’t slide: Align gently, then press evenly with your ring finger. No dragging!
- Apply product from the outside in: Use a flat shader brush or sponge for powders; angled liner brush for liquids. Start light—you can build.
- Lift straight up: Peeling at an angle = smudged lines. Be patient.
- Customize immediately: Soften edges with a clean blending brush or add freehand accents to break symmetry.
5 Non-Negotiable Best Practices for Flawless Stencil Application
“Can’t I just reuse that Amazon 10-pack forever?”
Optimist You: “Sure—if you love bacterial buildup and warped edges!”
Grumpy You: “Hard pass. My face isn’t a petri dish.”
- Clean after every use: Wash with mild soap and warm water. Air-dry flat—never crumple or fold.
- Match material to product: Silicone stencils = powders, creams, liquids. Avoid rigid plastic with wet formulas (they warp).
- Store flat or rolled: Never stack heavy objects on them. A dedicated makeup pouch prevents creasing.
- Replace every 3–6 months: Even high-end stencils lose tack over time. Check for micro-tears.
- Skip the DIY hacks: NO cutting shapes out of manila folders. (Yes, Pinterest “lifehack” influencers—I’m looking at you.)
Medical tape might seem grippy, but its adhesive can rip delicate skin, cause micro-tears, and leave sticky residue that clogs pores. Dermatologists consistently warn against this—especially around eyes. Stick to purpose-built tools.
Rant Time: My Pet Peeve in the Stencil World
Brands that sell “universal” stencils claiming they fit all eye shapes. Newsflash: hooded lids ≠ monolids ≠ deep-set eyes. If your stencil pack doesn’t include size variations or anatomical notes, it’s lazy design—not inclusive innovation. Demand better.
Real Artists, Real Results: Case Studies in Stencil-Powered Innovation
Case Study 1: From TikTok Viral to Runway Ready
MUA Lena Cruz (@lenacruzmua) used layered GlamLite stencils to create her “Digital Glitch” eye look—featuring intersecting neon triangles and pixelated shadow fades. The post went viral (2.4M views), leading to a collaboration with NYX. Her secret? “I used three stencils per eye: one for base shape, one for inner highlight cutout, one for outer graphic extension. Then I blended only the inner corner by hand for dimension.”
Case Study 2: Bridal Beauty Meets Bold Art
For a client’s South Asian wedding, Toronto-based artist Dev Singh needed dramatic kajal wings that lasted 16+ hours in humidity. He used SlayFace’s “Monarch Wing” silicone stencil with waterproof gel liner. Result? Crisp symmetry that survived dancing, crying, and monsoon-level sweat—all while looking traditionally elegant, not “costume-y.”
FAQs About Innovative Makeup Art & Stencils
Are makeup stencils only for beginners?
No! Even elite MUAs like Hung Vanngo and Sir John use stencils for complex editorial shoots where millimeter precision matters under deadline pressure.
Can I use stencils on acne-prone skin?
Yes—but choose non-comedogenic, latex-free silicone (look for FDA-cleared materials). Always sanitize before use.
Do stencils work with cream products?
Absolutely. Flexible silicone grips better with creams than rigid plastic. Just avoid overloading your brush to prevent seepage.
How do I stop pigment from bleeding under the stencil?
Two fixes: (1) Tap excess product off your brush before applying. (2) Chill your stencil in the fridge for 1 minute—it tightens the seal against skin.
Conclusion
Innovative makeup art isn’t about having steady hands or fancy palettes—it’s about leveraging the right tools to execute creative visions with confidence. Modern makeup stencils, engineered with dermatological insight and artistic intent, have erased the line between “pro” and “amateur.” Whether you’re crafting a subtle wing for your 9-to-5 or designing a full-face galaxy for Coachella, stencils are your silent collaborators.
Remember: great art uses guides. Da Vinci used grids. You? You’ve got micro-tack silicone. Now go make something brilliant—then smudge it just enough to feel human.
Like a Tamagotchi, your stencil stash needs daily care—or it dies a sad, warped death.