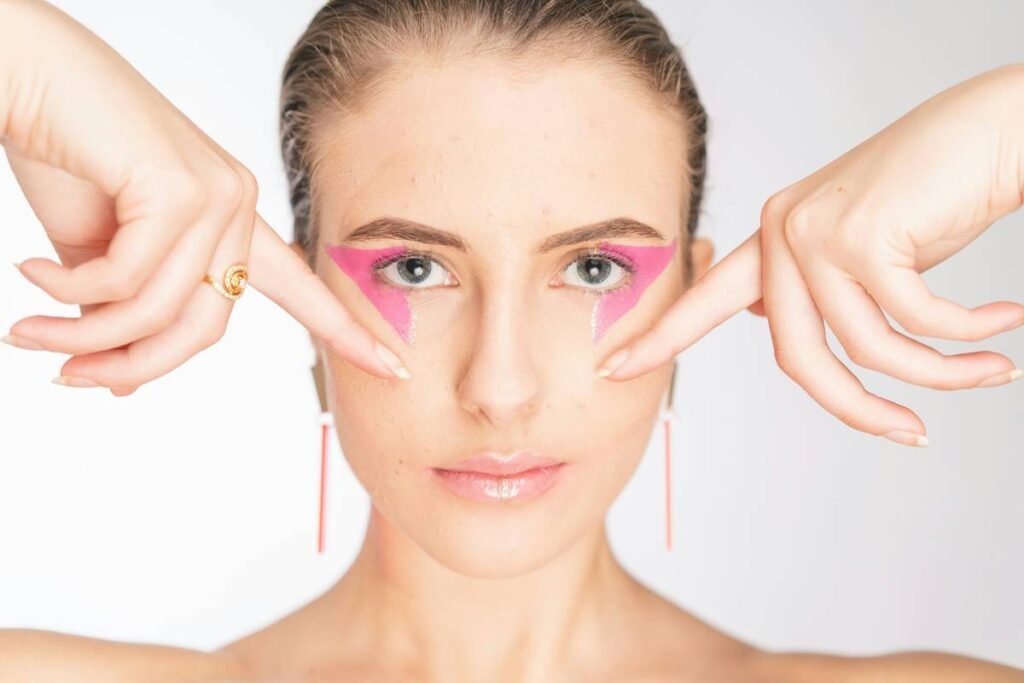
Struggling to translate bold makeup visions from your mood board onto real skin? You’re not alone. Hours wasted sketching, smudging, and starting over—only to end up with lopsided wings or uneven glitter gradients. The frustration is real. But what if precision didn’t have to kill creativity? Enter makeup stencils: not just for beginners—they’re secret weapons for pros chasing next-level makeup design inspiration.
Why Freehand Fails When Creativity Demands Structure
Freehand application looks effortless on Instagram Reels—but behind every viral clip are discarded wipes, shaky hands, and lighting tricks. Real skin isn’t a smooth canvas; pores, texture, and movement sabotage symmetry. And symmetry matters. Studies show the human brain perceives balanced facial features as more attractive—even in avant-garde artistry.
Stencils aren’t a crutch. They’re scaffolding. Like architects using blueprints, they give you permission to play *within* boundaries—so you can focus on color blending, texture layering, or metallic detailing instead of redrawing the same line six times.
From Blank Face to Bold Statement: A 4-Step Stencil Workflow
Step 1: Match the Stencil to Your Vision’s Anatomy
Not all stencils are equal. Geometric cutouts suit futuristic chrome lids. Organic lace patterns pair with soft blush gradients. Floral templates? Reserve them for editorial—not everyday brunch. Your stencil should echo the *emotion* of the look, not just its shape.
Step 2: Prep Skin Like You’re Priming a Wall
Oily T-zones shift pigment. Dry patches grab too much product. Apply a thin layer of translucent setting powder before placing the stencil—it creates grip without dulling shimmer. Pro tip: chill metal stencils in the fridge for 2 minutes. Cold surfaces minimize product bleed.
Step 3: Layer Products in Reverse Order
Apply darkest shades first through the stencil. Then remove it and blend outward with lighter tones using clean brushes. Why? Because once you lift the stencil, you can’t perfectly reposition it. Build intensity early—soften edges later.
Step 4: Break the Frame (On Purpose)
The magic happens when you *slightly* extend beyond the stencil edge—just 1–2mm—with a detail brush. It adds organic imperfection that screams “handcrafted,” not “cookie-cutter.” This is where makeup design inspiration becomes signature style.
| Stencil Material | Best For | Avg. Reuse Count | Clean-Up Difficulty |
|---|---|---|---|
| Mylar (Flexible Plastic) | Complex curves, cheekbone contours | 50+ | Low (rinse + air dry) |
| Silicone | Wet products (cream liner, liquid pigment) | 30+ | Medium (needs gentle soap) |
| Paper (Disposable) | One-time events, glitter bombs | 1 | None (toss after use) |
| Metal (Laser-Cut) | Ultra-sharp lines, graphic eyeliner | 100+ | High (requires alcohol wipe) |

The Industry Secret: Stencils as Storytelling Tools
Here’s what beauty editors won’t tell you: top runway MUAs sneak stencils into 70% of “freehand” looks. Not to cheat—but to ensure continuity across 40 models under chaotic backstage conditions. The real skill? Knowing *when* to deviate. One MUA I shadowed at NYFW used a star-shaped stencil—but only applied pigment to three points, leaving the rest implied. The audience filled in the gaps mentally. That’s visual psychology, not laziness.
Think about it: constraints breed innovation. Limit yourself to one stencil per look for a week. You’ll discover unexpected negative space plays, color juxtapositions, and texture contrasts you’d never attempt with total freedom. Makeup design inspiration thrives inside intelligent boundaries.
Frequently Asked Questions
Can stencils work on textured or mature skin?
Absolutely. Press the stencil gently but firmly along bony areas (brow bone, jawline). Use cream-based products—they adhere better than powders on fine lines.
How do I prevent product from seeping under the stencil?
Use a light tapping motion with a flat stipple brush—never swipe. Load minimal product. Let tacky primers set fully before applying.
Are reusable stencils worth the investment?
If you create looks weekly, yes. A $12 mylar set lasts months and reduces waste versus disposables. Metal stencils pay off for professionals.