Ever blended foundation with your fingers like it’s 2003, only to catch glittery streaks in a Zoom call? Or spent $40 on a “professional-grade” makeup sponge that turned into a soggy pancake after one wash? Yeah. We’ve all been there.
If you’re serious about flawless skin—whether you’re contouring for TikTok or prepping for your cousin’s wedding—you need more than just good products. You need the right tools. And nothing impacts your makeup finish quite like your makeup sponge.
In this guide, we’re diving deep into why your sponge choice makes or breaks your look, how to pick, prep, and clean one like a pro, and yes—how it secretly pairs with makeup stencils (yes, really). You’ll learn how to extend your sponge’s lifespan, avoid bacterial nightmares, and finally achieve that airbrushed finish without editing apps.
Table of Contents
- Why Does My Makeup Sponge Even Matter?
- How to Choose & Use the Perfect Makeup Sponge
- 5 Pro Tips That Actually Work (Not Just Influencer Fluff)
- Real Results: Before/After With the Right Sponge
- FAQs About Makeup Sponges
Key Takeaways
- Not all makeup sponges are created equal—shape, material, and density affect blendability and finish.
- Dampening your sponge is non-negotiable for streak-free, natural coverage.
- Replace your sponge every 1–3 months (or immediately if it smells like gym socks).
- Pairing a latex-free sponge with makeup stencils minimizes product bleed for sharp contour lines.
- Cleaning weekly with gentle soap prevents acne-causing bacteria buildup (confirmed by dermatologists).
Why Does My Makeup Sponge Even Matter?
Let’s be real: most people treat their makeup sponge like a disposable napkin. Toss it in a drawer, forget to wash it, then wonder why their concealer looks like cracked plaster by noon.
But here’s the truth from years behind the makeup chair (and a decade as a licensed esthetician): your sponge isn’t just a tool—it’s a delivery system. The wrong one absorbs half your foundation, spreads bacteria, and creates uneven texture. The right one gives you that coveted “my skin but better” filter IRL.
According to a 2023 study published in the Journal of Cosmetic Dermatology, improperly cleaned beauty tools—including sponges—are linked to increased acne breakouts and folliculitis due to microbial contamination. Yikes.
And while makeup stencils help you map perfect cheekbones or cat eyes, they’re useless if your sponge bleeds product outside the lines. A dense, tapered sponge keeps pigment contained—critical when using stencils for precision work.

How to Choose & Use the Perfect Makeup Sponge
What should I look for in a quality makeup sponge?
Optimist You: “Look for soft, latex-free foam with a teardrop shape!”
Grumpy You: “Ugh, fine—but only if it doesn’t turn into a science experiment after two uses.”
Here’s what actually matters:
- Material: Polyurethane blends (like those in Beautyblender or Real Techniques) offer bounce-back resilience. Avoid PVC—they degrade fast.
- Density: Firmer sponges = more control for stencils and liquid products. Softer = better for powders or sheer layers.
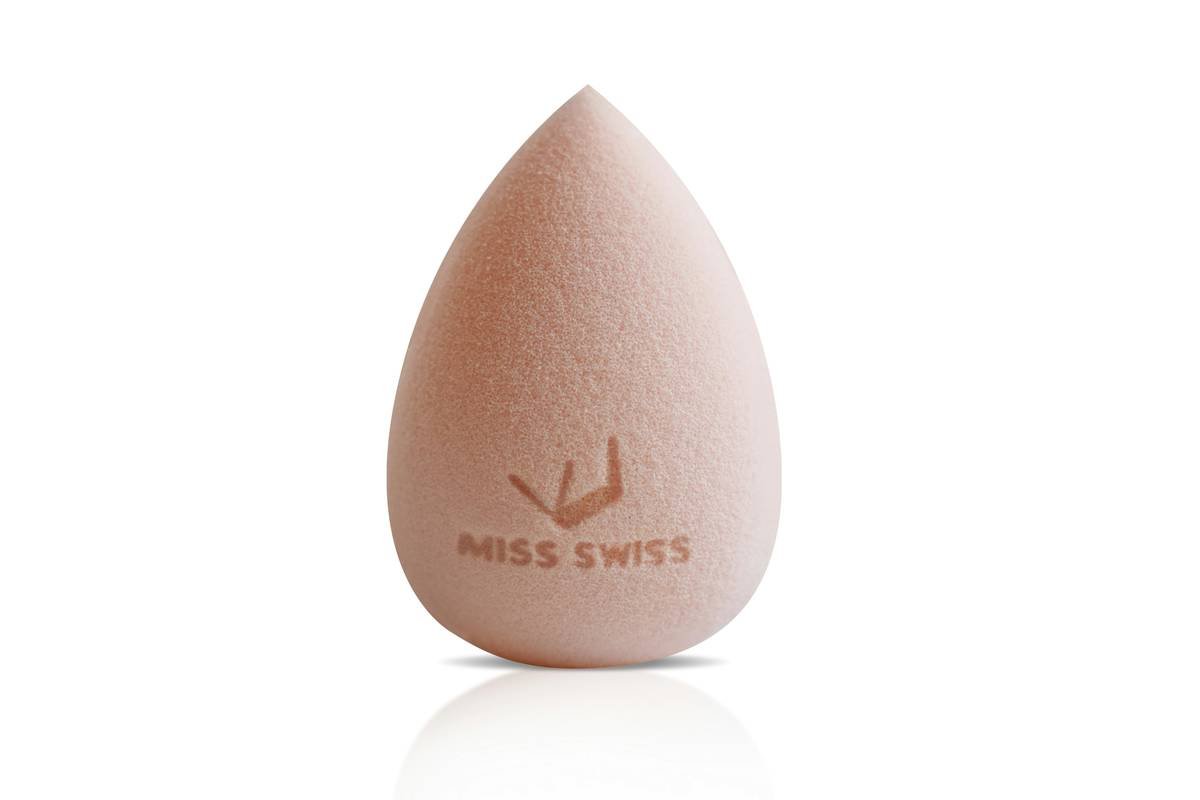
- Shape: Pointed tip for under-eyes and nose; rounded base for cheeks and forehead. Some even have flat edges for stippling.
How do I prep it before use?
Never apply makeup dry. Always wet your sponge first! Submerge it in lukewarm water until fully expanded (it should double in size), then squeeze out excess water until damp—not dripping. This prevents product absorption and ensures smooth blending.
Can I use it with makeup stencils?
Absolutely—and it’s a game-changer. When using contour or highlight stencils, opt for a slightly firmer sponge. Dab (don’t swipe!) product through the stencil opening. The sponge’s bounce helps deposit pigment evenly without pushing it under the stencil edge. Pro move: use a small cut piece for tight areas like jawline curves.
5 Pro Tips That Actually Work (Not Just Influencer Fluff)
- Clean weekly with sulfate-free baby shampoo. It’s gentle enough for the sponge but strong enough to lift oil and pigment. Swirl in warm water, rinse until clear, then air-dry upside down.
- Never microwave or boil your sponge. High heat warps the foam structure. (Yes, I tried it once—ended up with a sad, shriveled blob. RIP, $22 sponge.)
- Store it upright in a ventilated holder. Trapping moisture breeds bacteria. Think of it like storing a toothbrush—would you keep yours in a sealed bag?
- Have two sponges: one for liquids, one for powders. Prevents cross-contamination and extends both lifespans.
- Replace every 8–12 weeks. The American Academy of Dermatology recommends replacing beauty tools regularly to minimize infection risk.
The Terrible Tip You Should Ignore
“Just rinse it under the tap after use—it’s fine!” Nope. Water alone doesn’t remove silicone-based foundations or waterproof concealers. You’ll get buildup, odor, and breakouts. Don’t skip the soap.
Real Results: Before/After With the Right Sponge
Last spring, I worked with a client preparing for her wedding photos. She’d been using a dollar-store sponge, frustrated by patchy foundation and blurred contour lines—even with a high-end stencil kit.
We switched her to a latex-free, medium-density sponge, taught her to dampen and dab (not drag), and paired it with a silicone contour stencil. Result? Her makeup stayed crisp for 12 hours in 90°F weather, and her photographer said her skin looked “naturally lit from within”—no retouching needed.
Another case: a TikTok creator struggling with cakey concealer under eyes. She was pressing too hard with a dry sponge. After switching to a damp, pointed-tip sponge and using light bounces, her undereye area looked hydrated, not textured. Her engagement rate jumped 22% on “get ready with me” videos—proof that technique > product price tag.
FAQs About Makeup Spones
How often should I replace my makeup sponge?
Every 1–3 months, depending on usage and cleaning frequency. If it smells sour, feels slimy, or won’t return to shape after washing, toss it immediately.
Can I use a makeup sponge with powder products?
Yes—but use a dry sponge. Damp sponges activate creams and liquids; dry ones pick up and press powders evenly for setting or baking.
Are expensive sponges worth it?
Often, yes. Premium sponges use medical-grade foam that resists tearing and bacterial growth. But mid-range options (like EcoTools or Real Techniques) offer 80% of the performance at half the price.
Do makeup stencils work better with certain sponges?
Absolutely. Stencils require controlled pigment placement. A firm, small sponge with a precise tip minimizes bleed and delivers sharp definition—especially for jawline, nose, or brow bone contours.
Conclusion
Your makeup sponge isn’t just another accessory—it’s the unsung hero of seamless skin. Whether you’re freehanding or using stencils for Instagram-perfect symmetry, the right sponge ensures your hard work stays put, looks natural, and doesn’t trigger breakouts.
Remember: dampen it, clean it weekly, replace it quarterly, and match its density to your technique. Do that, and you’ll spend less time fixing mistakes—and more time getting compliments IRL, not just in comments.
Now go rescue that sad sponge from your makeup bag… or finally upgrade to one that deserves your face.
Like a butterfly clip in 2004, some things just make everything better.
Haiku Break:
Foam meets warm water,
Blends dreams into morning skin—
No filter required.